HOW TO STITCH A BRA: A STEP-BY-STEP GUIDE

Stitching Your Own Bra May Seem Like A Daunting Task, But With The Right Tools, Materials, And Patience, It Can Be A Rewarding Project. Whether You're Looking To Create A Custom Fit, Experiment With Fabrics, Or Simply Take On A Fun DIY Challenge, Learning To Sew A Bra Can Give You A Unique, Personalized Piece Of Lingerie. This Step-By-Step Guide Will Walk You Through The Process Of Stitching Your Own Bra From Scratch.
Materials You’ll Need:
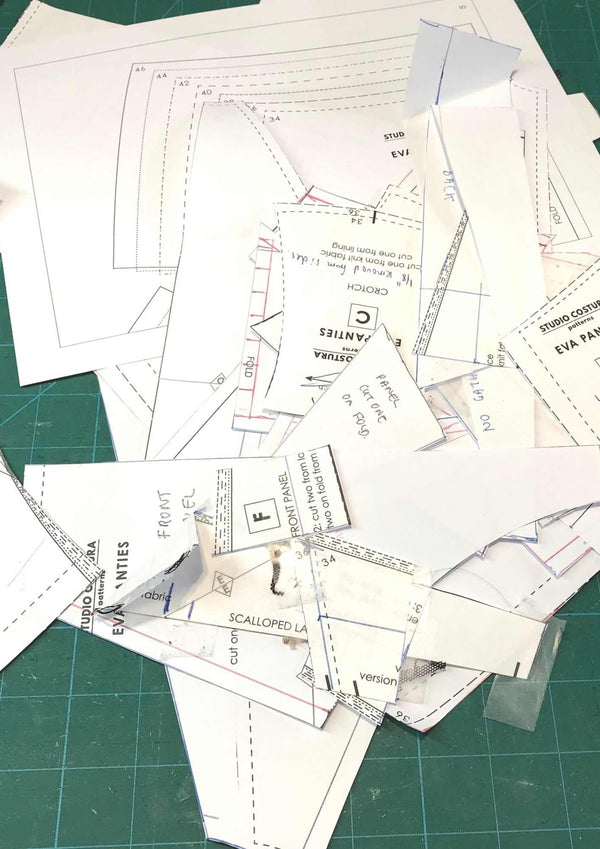
- Bra Pattern: Purchase Or Download A Bra Sewing Pattern That Matches Your Size. Patterns Are Available Online Or In Sewing Stores.
- Fabric: Choose A Fabric That Is Comfortable And Supportive, Such As Cotton, Jersey, Lace, Or Satin. You Will Also Need Lining Fabric If Required.
- Elastic: For The Underband And Straps, You’ll Need Elastic That Is Both Soft And Strong.
- Bra Hardware: This Includes Hook-And-Eye Closures For The Back, Adjustable Sliders For The Straps, And Underwires If You're Making A Wired Bra.
- Sewing Machine & Needles: A Sewing Machine With A Stretch Stitch Setting Is Ideal, And A Needle Suitable For Lingerie Fabrics (Such As A Ballpoint Needle) Will Ensure Smooth Stitching.
- Pins, Scissors, And Measuring Tape: Basic Sewing Tools To Help With Cutting And Assembling The Fabric.
Step-By-Step Instructions:
Step 1: Measure Yourself And Choose The Right Pattern
Before You Start Stitching, It's Essential To Measure Your Bust Accurately. Using A Measuring Tape, Take Measurements For Your Band Size (Around Your Ribcage, Just Under The Bust) And Your Cup Size (Around The Fullest Part Of Your Bust). Once You Have Your Measurements, Choose A Bra Pattern That Fits Your Size.
Step 2: Cut The Fabric
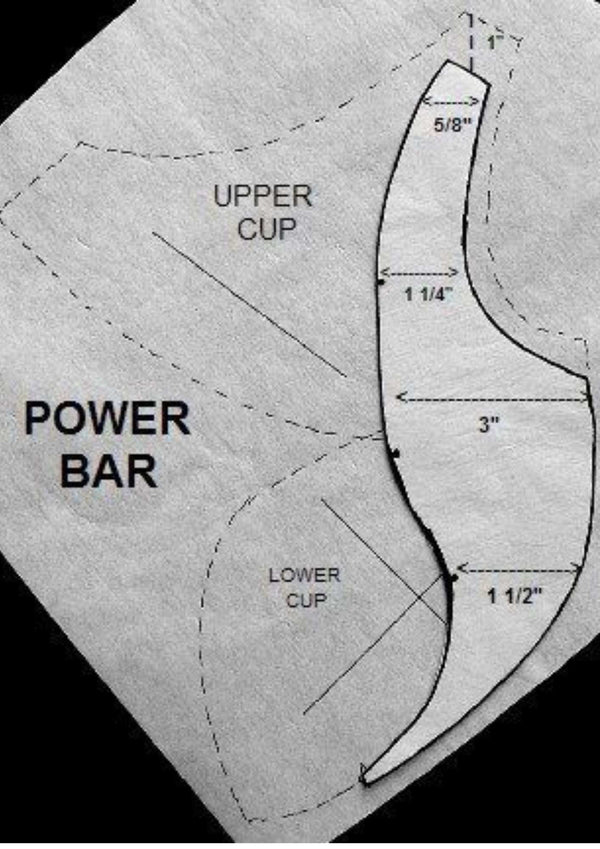
Lay Out The Fabric And Pin The Bra Pattern Pieces To The Fabric. The Basic Parts Of A Bra Usually Include:
- Two Cups
- Sidebands (Also Known As The Bra Wings)
- Center Front Piece (Bridge)
- Straps
- Underband
Carefully Cut Out Each Piece, Following The Grain Of The Fabric To Ensure That The Bra Will Have The Right Amount Of Stretch And Structure.
Step 3: Sew The Cups
Start By Stitching The Cups Together. If You're Making A Multi-Panel Cup Bra (Common In Supportive Bras), Follow The Pattern To Sew The Pieces Of Each Cup Together. Use A Small Zigzag Or Stretch Stitch To Sew Along The Curved Seams. Press The Seams Open After Sewing To Give The Cups A Smooth, Clean Finish.
If You’re Adding Padding, This Is The Step To Insert Foam Or Padding Between The Layers Of The Cups.
Step 4: Attach The Center Front And Sidebands
Once Your Cups Are Sewn, Attach Them To The Center Front Piece (The Part That Sits Between The Cups). Sew Along The Edges Carefully. Then, Attach The Sidebands To Each Cup. These Sidebands Will Wrap Around Your Torso To The Back Closure, So It’s Essential To Sew Them Securely.
Step 5: Sew The Underband
The Underband Provides The Primary Support For The Bra. Attach The Elastic Band Along The Bottom Edge Of The Cups And Sidebands. Use A Zigzag Stitch To Securely Sew The Elastic To The Fabric, Making Sure It Stretches Evenly. You Can Also Add Underwire At This Stage If You're Making A Wired Bra. Insert The Wire Into The Casing And Sew It Shut.
Step 6: Attach The Straps
Cut The Elastic Straps To The Desired Length And Attach Them To The Top Of Each Cup. Use Bra Sliders And Rings To Create Adjustable Straps. This Gives You The Flexibility To Adjust The Length For Comfort.
Sew The Other End Of The Straps To The Back Of The Bra, Aligning Them With The Sidebands For Balance And Support.
Step 7: Sew The Back Closure
Take The Hook-And-Eye Closure And Sew It To The Ends Of The Sidebands. One Side Will Have The Hooks, And The Other Side Will Have The Eyes. Make Sure The Closure Is Securely Attached, As This Is An Essential Part Of The Bra's Fit And Function.
Step 8: Add Finishing Touches
Trim Any Excess Fabric Or Threads, And Inspect The Bra For Any Loose Stitches. If You’re Using Lace Or Other Decorative Elements, Now Is The Time To Add Them. You Can Stitch Lace Overlays Onto The Cups Or Add Delicate Details To The Sidebands For A Personalized Touch.
Step 9: Fit And Adjust
Once The Bra Is Complete, Try It On And Check The Fit. Adjust The Straps, Check The Underband’s Comfort, And Make Sure The Cups Sit Smoothly Against Your Body. If Any Areas Feel Too Tight Or Loose, You Can Make Minor Adjustments By Resewing The Seams Or Tightening The Elastic.
Tips For A Perfect Bra Stitch:
- Choose The Right Fabric: Always Use Fabrics With The Appropriate Amount Of Stretch And Support. Stretch Fabrics Like Jersey Or Lace Are Ideal For Everyday Bras, While More Structured Materials Are Better For Full-Coverage Or Support Bras.
- Use A Walking Foot: When Sewing Delicate Fabrics Like Lace Or Mesh, A Walking Foot Can Help Prevent The Fabric From Slipping Or Stretching While Stitching.
- Test Your Stitches: Before Sewing The Actual Bra, Test Your Zigzag Stitch On A Scrap Piece Of Fabric. Ensure The Stitch Is Flexible But Secure To Allow For Stretching.
- Follow The Grainline: When Cutting Fabric, Always Pay Attention To The Grainline Marked On The Pattern. This Will Ensure That Your Bra Stretches In The Right Directions For A Better Fit.


