We've sent you an email with a link to update your password.
Reset your password
We will send you an email to reset your password.
HOW TO DO BRA DRAFTING: A STEP-BY-STEP GUIDE
Creating A Bra That Perfectly Fits And Offers Optimal Support Involves More Than Just Selecting Fabrics And Designs. The Secret Lies In The Precision Of Bra Drafting, A Process That Enables Designers To Craft A Bra Pattern Tailored To Various Sizes And Shapes. If You're Interested In The Intricacies Of Lingerie Design, Understanding Bra Drafting Is Essential. Here’s A Detailed Guide To Help You Navigate Through The Process.
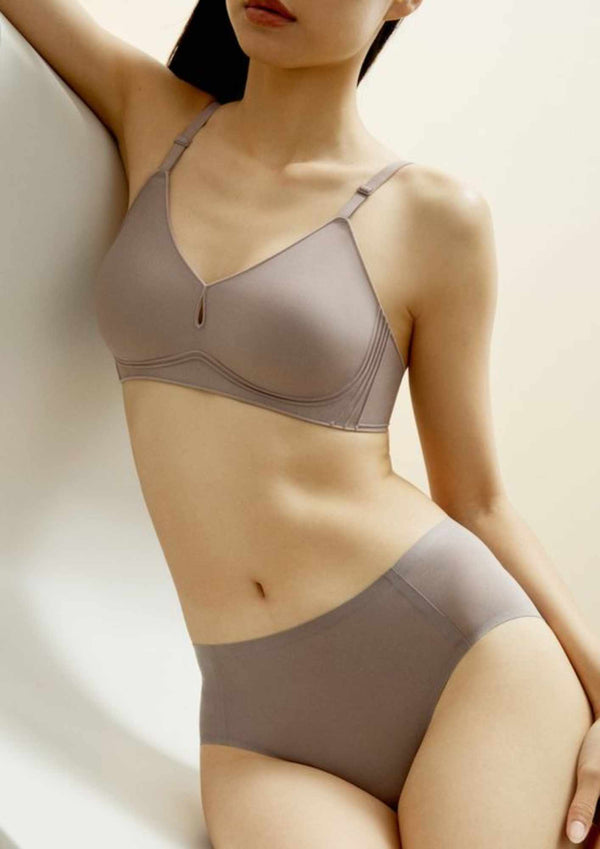
Understanding Bra Anatomy
Before Diving Into Drafting, It's Crucial To Familiarize Yourself With The Anatomy Of A Bra. A Standard Bra Consists Of The Following Components:
Cups: Support And Shape The Breasts.
Band: Wraps Around The Torso, Providing The Main Support.
Straps: Help In Stabilizing The Cups And Keeping The Bra In Place.
Bridge (Gore): The Center Panel Between The Cups.
Wings: The Sides Of The Bra That Extend From The Cups To The Back Closure.
Back Closure: Usually A Hook-And-Eye Fastening System.
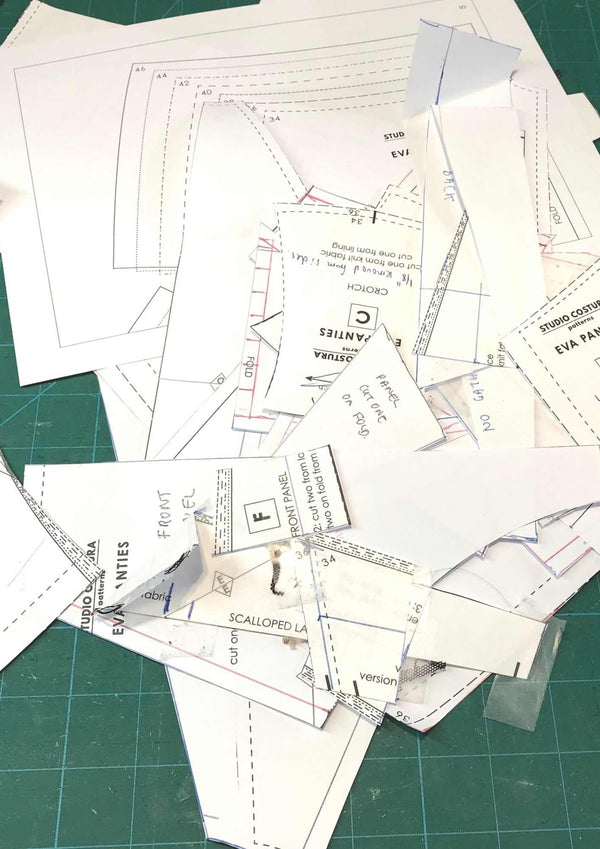
Gathering The Right Tools And Materials
To Draft A Bra Pattern, You'll Need:
Pattern Paper
Measuring Tape
Rulers (Straight And Curved)
French Curve
Pencils And Erasers
Scissors
Basic Bra Measurements (Underbust And Bust Measurements)
Taking Accurate Measurements
Accurate Measurements Are The Foundation Of A Well-Fitting Bra. You'll Need:
Bust Measurement: Measure Around The Fullest Part Of The Bust.
Underbust Measurement: Measure Around The Ribcage, Just Beneath The Bust.
From These, You Can Calculate The Cup Size And Band Size:
Cup Size: Subtract The Underbust Measurement From The Bust Measurement. Each Inch Difference Typically Corresponds To A Cup Size (1 Inch = A, 2 Inches = B, And So On).
Band Size: Use The Underbust Measurement To Determine The Band Size. Round The Measurement To The Nearest Even Number.
Drafting The Basic Bra Block
The Bra Block Is The Foundation For Your Bra Design. Here’s How To Create One:
Step 1: Draft The Band
Draw A Horizontal Line Equal To Half The Band Size (E.G., For A 34-Inch Band Size, Draw A Line 17 Inches Long).
Mark The Center Front And Center Back Points.
Add A Slight Curve Upwards At The Center Front And Center Back To Accommodate The Body's Natural Shape.
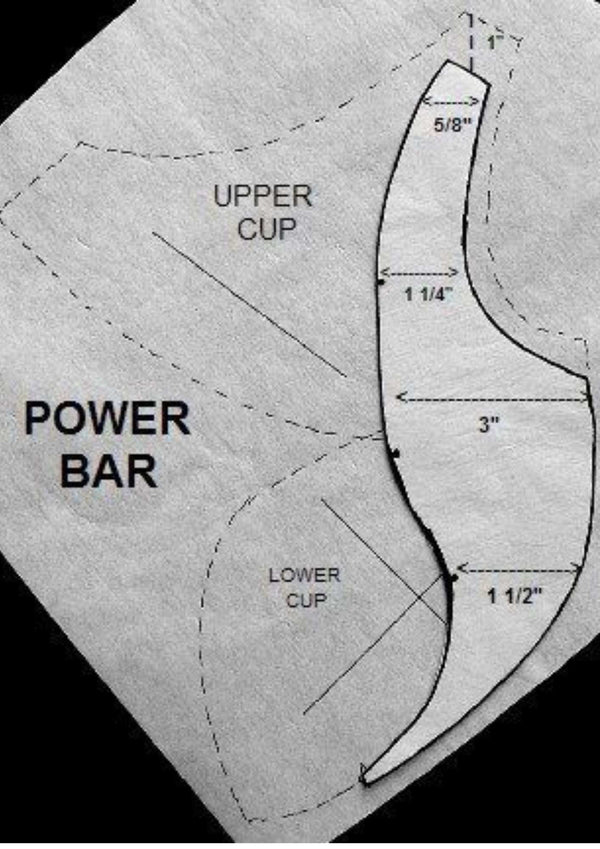
Step 2: Create The Cup Outline
Draw A Vertical Line From The Center Front Point Upwards, Equal To Half The Cup Height.
Sketch The Cup's Curve Using The French Curve, Connecting This Point To The Band Line. The Shape Should Be A Gentle Curve That Accommodates The Bust's Fullness.
Step 3: Design The Bridge And Gore
Measure And Mark The Width Of The Bridge (Usually About 1 To 2 Cm).
Draw The Bridge Line Extending From The Bottom Of The Cup To The Band.
Step 4: Draft The Wings
Extend Lines From The Sides Of The Band To Form The Wings.
The Wings Should Taper Towards The Back, Considering The Strap Placement And Band Elasticity.
Adding Seam Allowances And Adjustments
Add Seam Allowances (Usually 0.5 To 1 Cm) Around All Pattern Pieces.
Include Notches To Indicate Important Points Like The Center Front, Cup Seams, And Strap Placements.
Creating Cup Seams And Darts
Most Bra Cups Are Not A Single Piece; They Are Divided Into Multiple Sections To Provide Shape And Support. You Can Create:
Vertical Seams: Draw Vertical Lines On The Cup Pattern To Divide It Into Two Or More Parts.
Horizontal Seams: Create A Horizontal Division To Accommodate More Fullness.
Darts: Add Darts To The Cup For Shaping, Especially In Smaller Cup Sizes.
Drafting The Straps And Back Closure
Straps: Mark The Strap Placement Points On The Front And Back. Straps Should Be Angled Slightly Towards The Center Back.
Back Closure: Design The Closure Area, Ensuring It Is Wide Enough For The Hook-And-Eye Fastening System.
Testing The Pattern
Use Muslin Or A Similar Fabric To Sew A Test Bra.
Fit The Bra On A Mannequin Or A Person To Assess The Fit And Make Necessary Adjustments.
Refining The Draft
Adjust The Pattern Based On The Fitting Test. Common Adjustments Include Altering The Cup Depth, Band Length, And Strap Position.
Once Satisfied, Create The Final Pattern On A Sturdier Material Like Cardstock For Repeated Use.
Finalizing The Bra Draft
Your Final Bra Draft Will Serve As The Base For Creating Various Bra Styles. You Can Modify It To Add Lace Overlays, Padding, Or Different Cup Shapes.
Tips For Successful Bra Drafting
Precision Is Key: Small Discrepancies In Measurements Can Lead To Fit Issues. Always Measure Carefully.
Understand Fabric Behavior: The Stretch And Recovery Of The Fabric Affect The Fit. Consider The Fabric's Properties When Drafting.
Start Simple: If You're New To Bra Drafting, Start With A Basic Style Before Moving To More Complex Designs.